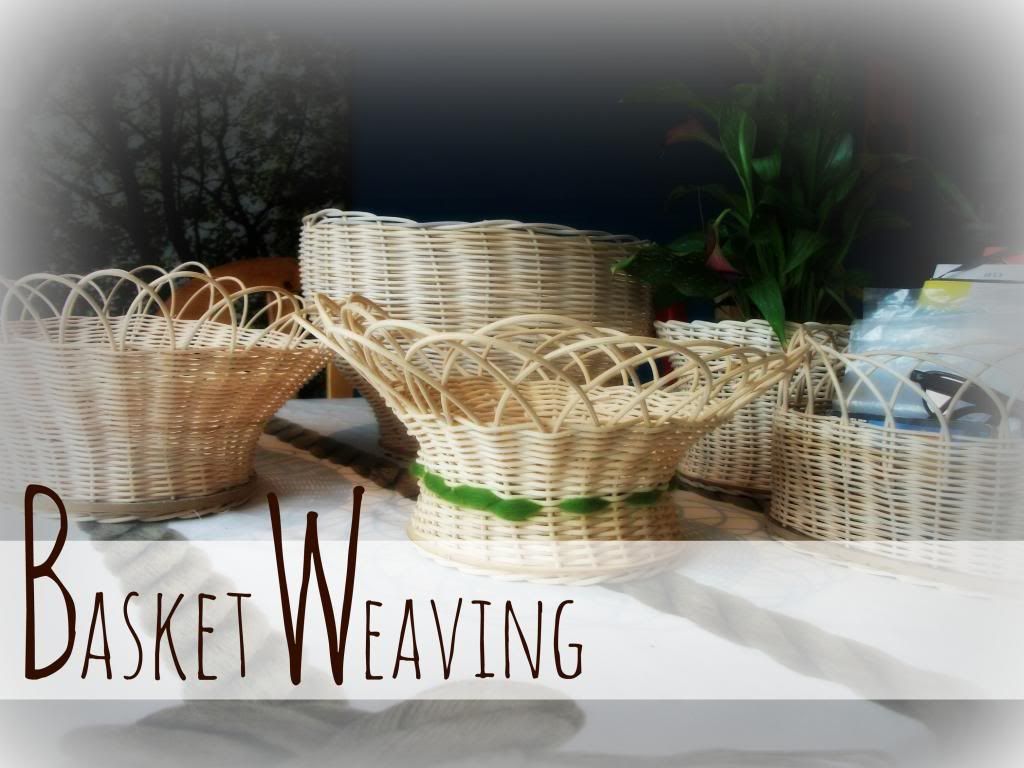
A couple of weeks ago, Ronja and I had the pleasure of meeting some basket weavers on a fair.
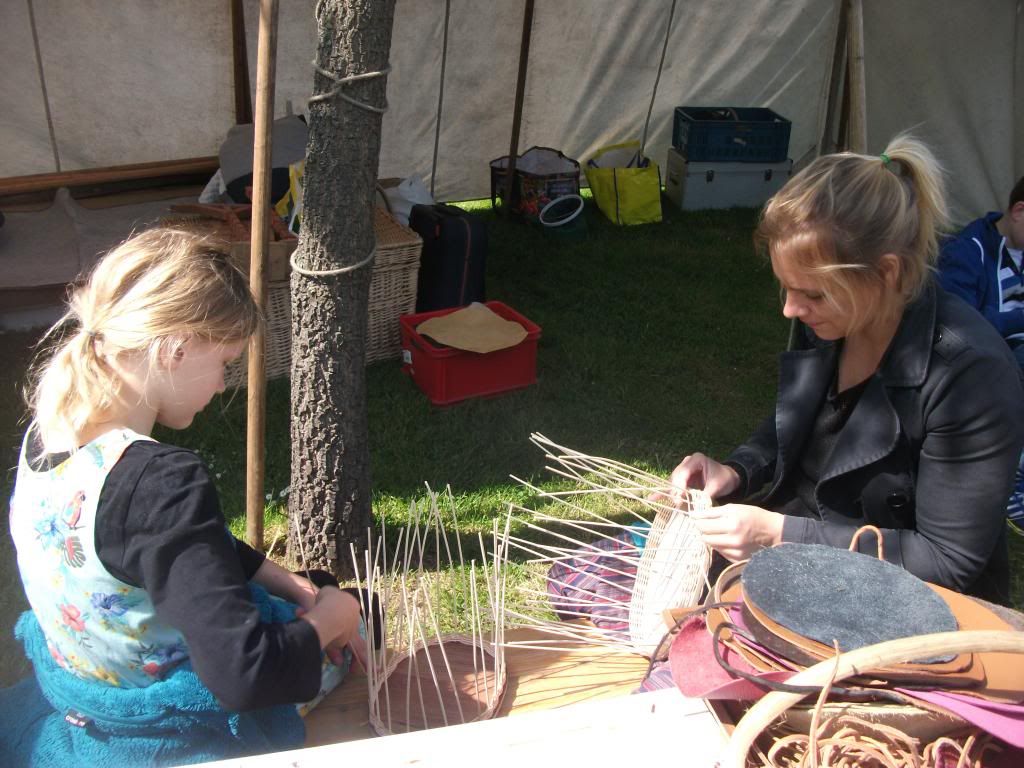
If you remember this post, you know that I´m really intrigued by the idea of weaving baskets - but I found the willows from our garden to be quite stubborn. Not that I´m not going to try again... but for now, thanks to the basket weavers on the fair, we´ve found an easier, and more children-compatible solution:
Rattan.
Rattan is awesome. It´s really easy to work with, and it´s cheap, too.
We found both the rattan, and the wooden base on amazon, though I´m pretty sure someone who can work with a drill and a saw could easily make the wooden base out of scraps, and we´re also planning on weaving a base - but so far, let´s stick with the wooden base.
Basically, it´s a scrapwood circle (or rectangle, or oval...) with holes in regular intevals, the diametre of your rattan - in our case, 3 mm. It looks like this:
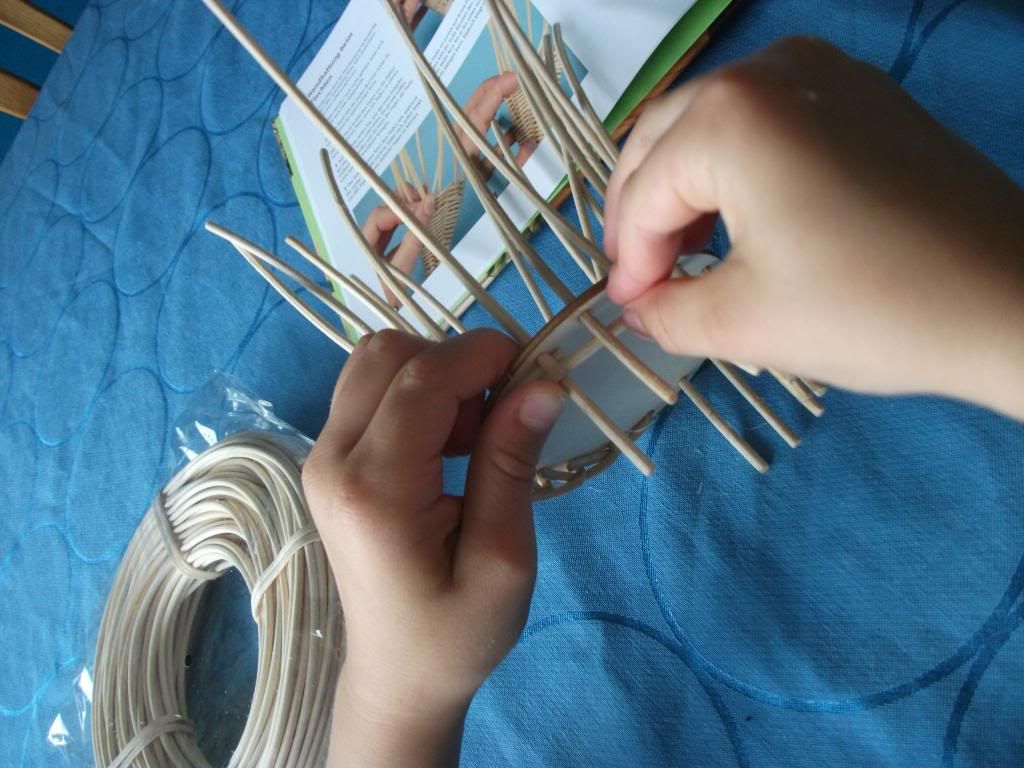
On that picture, you can see Miro´s hands, securing the stakes. For your stakes, you cut pieces of your rattan of equal lenght, about as high as you want your finished basked to be, plus a little extra for your finishing border.
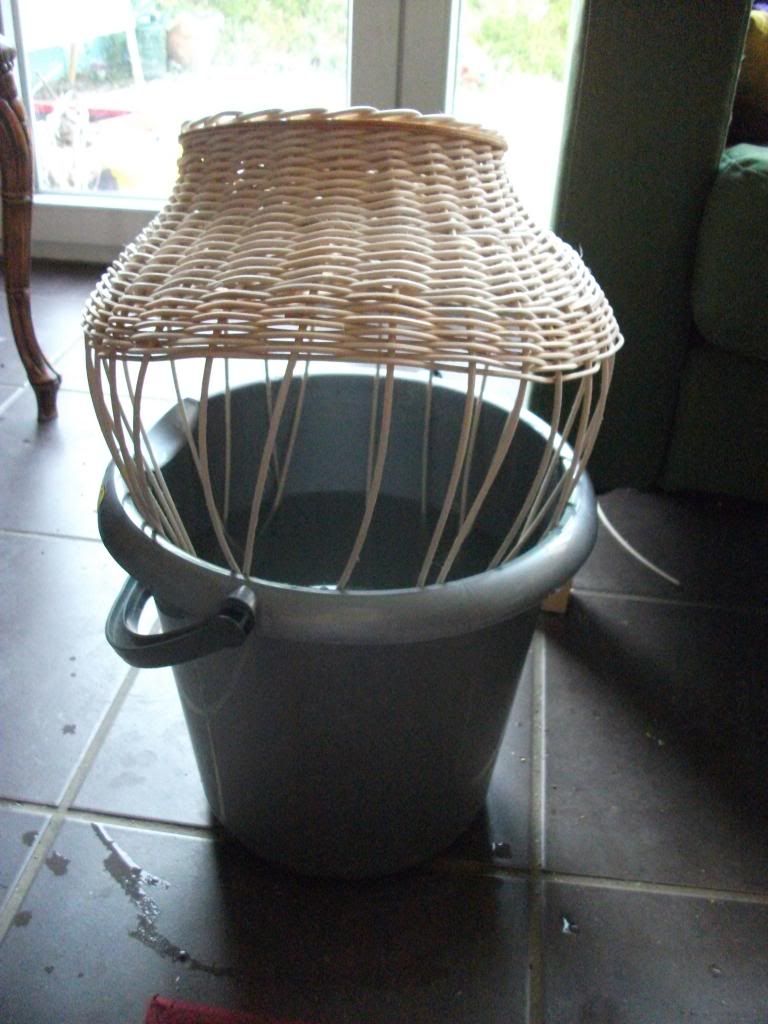
Before working with them, you need to water them. That´s important. Always water your rattan, so it will not break and be nicely bendable. Like this:
Or like this:
There´s always a bucket with water somewhere in our house, at the moment. Though, it´s better not to leave them in too long - I once left them overnight, and it made them grey and brittle. 10-30 minutes will do just fine. If they dry while you work, or you had to take a break, simply repeat.
After you´ve got your stakes secured, it´s pretty much like the weaving you know from kindergarten -over and under, over and under... see?
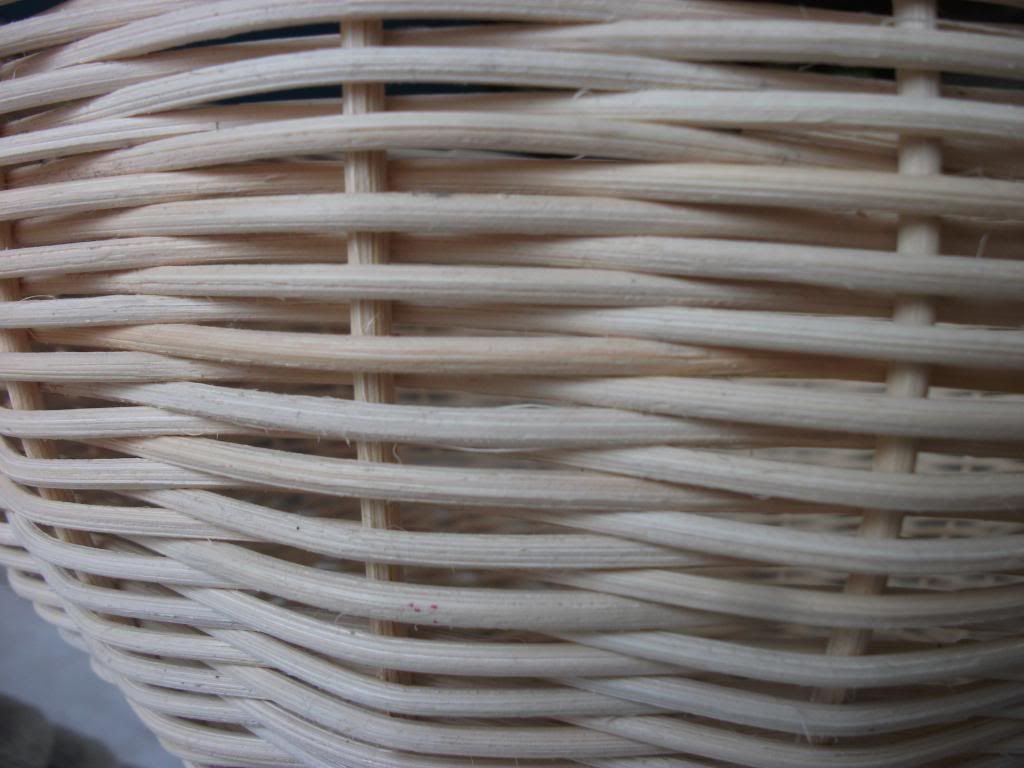
If you want to get fancy, you can weave two at the same time, intertwining them:
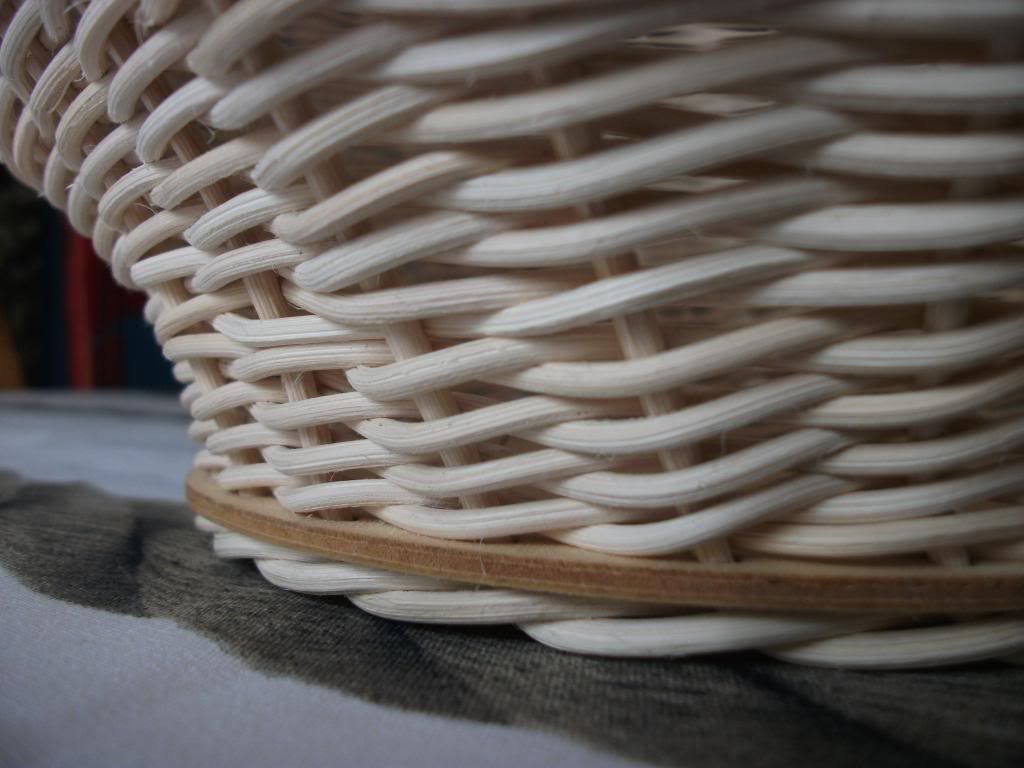
Well, and them you weave on, and on, and on. You can also weave in some wool, to spice things up a bit. Or you weave completely with wool - for my sons, that was a lot easier.
I just found an article about how it´s possible to color you rattan with foodcoloring, or fabric dye, or ink, by letting it soak in colored water... oh, we are so trying that!
If you want your basket to take a certain shape, try bending the stakes the way you want them to go. It´s quite simple, and if the result looks a bit different than what you had in mind - hey, we´re talking about a handmade project out of natural materials, so thaat´s just what makes it charming, right?
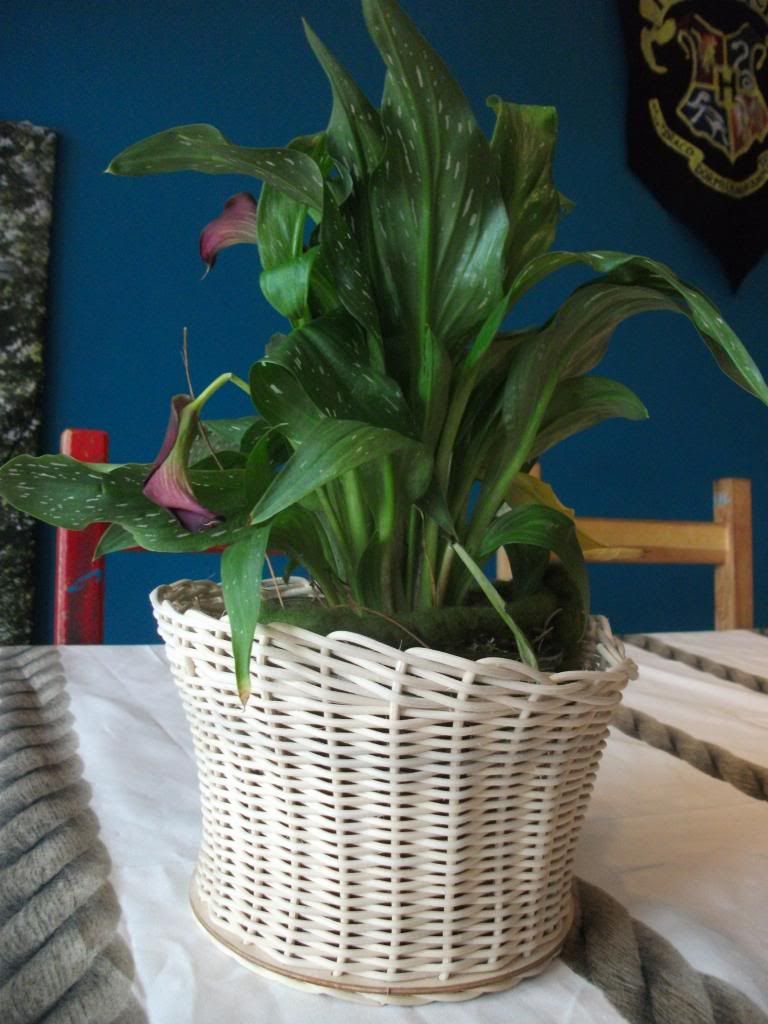
Now we´ve got planters...
...and baskets to hold the books we´re currently reading...
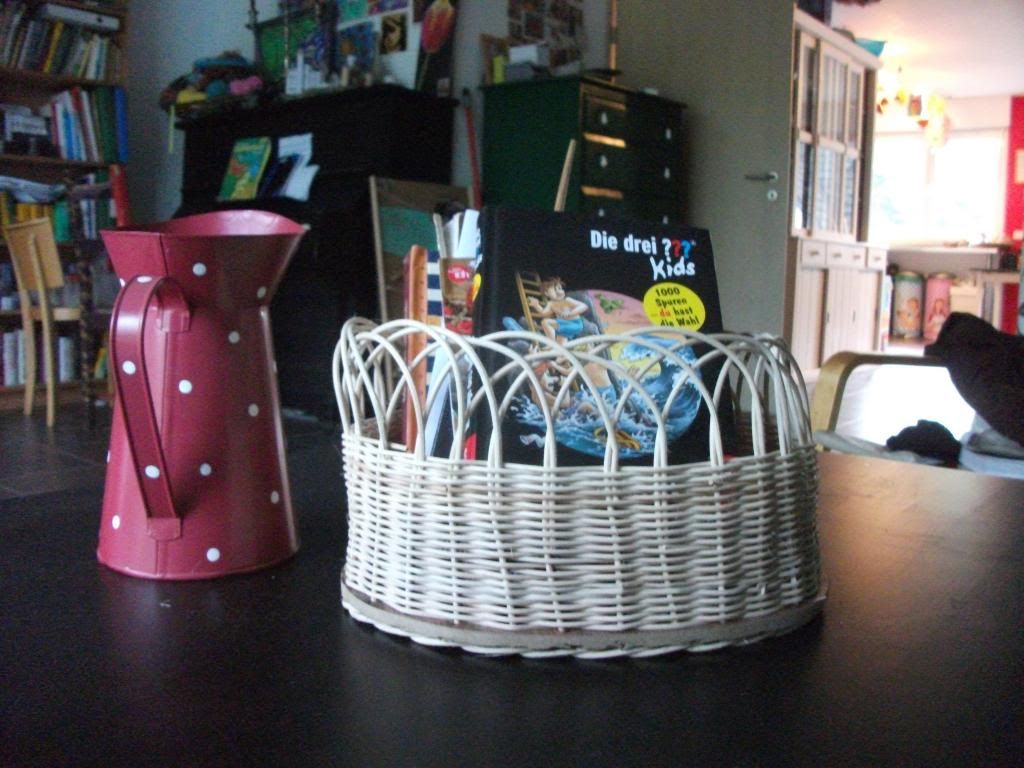
...and plenty of gift baskets to hold our homemade honey, our honey soap and a bottle of our homemade syrup and juice that make nice gifts for nice people :)
And the sweetest thing is - I just love how weaving baskets makes our house look kike this:
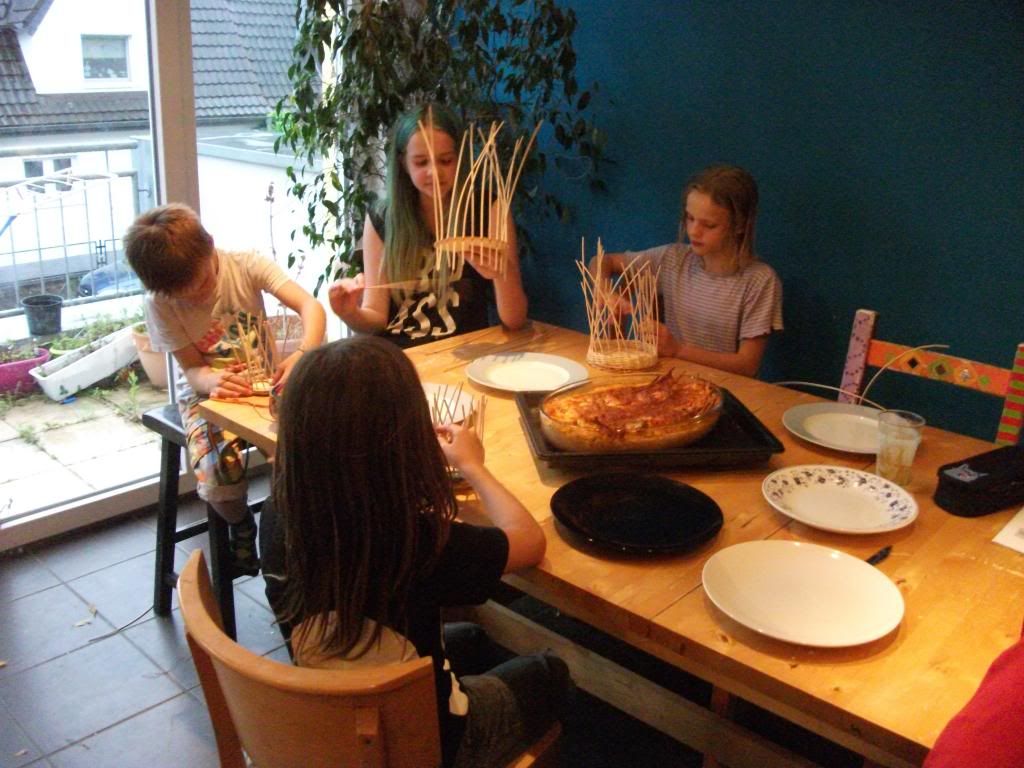
There´s a fresh lasagna on the table, and nobody´s even looking :)
Music:
Are you gonna stay the night?
I think it´s time I update our Couchsurfer profile - it´s been so long since someone stayed the night :)

3 comments:
This is so cool. Thanks for sharing how to weave. Definitely inspired me to want to make my own basket.
:)
wow looks amazing, thanks so much for the inspiration!
palm angels outlet
off white hoodie
yeezy shoes
bape
fear of god clothing
a bathing ape
kyrie irving shoes
goyard bag
off white clothing
golden goose sneakers
Post a Comment