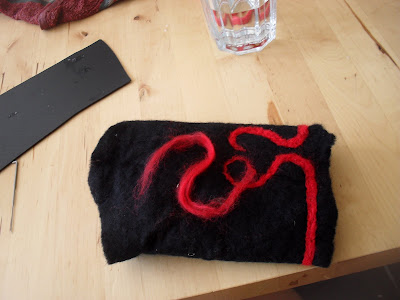
 That´s a sponge, or some other foam to insert into your cuffs, wool, and a felting needle, one with little hooks. And your cuffs, of course. You insert the sponge into one of your cuffs, like so:
 Now you´ve got something to poke your needle into, so it won´t break off, and you won´t accidently poke your leg. Felting needles are sharp, and remember, they have hooks. Pull a thin strand off your red wool, and fixate it by simply poking it onto your felted cuff:
 And keep on poking and pinching. This process will tear the wool fibres, so they can connect. The more you pinch, the more your red wool will connect to the felt below, and you´ll see that you can shape your strand, according to where you pinch. Does this make sense? I´m no native speaker, and explaining this process really is a challenge :-)
 So you just keep on poking...
  Inventing patterns...
  It takes a while. I think it´s faster than handstitching, though, and a lot easier. The only hard thing is to know when to stop:
  Felting both cuffs and creating a pattern like the one above for one cuff took about four hours. It took another six hours two finish the pattern, as it is in the post below. If you have any questions, feel free to post them in the comments, and I´ll use my limited vocab to answer them :-) And tomorrow, I´ll show you what my daughters felted, while I made my cuffs, so, see you :-)
And my music for today is:Story of my life. I´ve got my memories... always inside of me... and this is home :-)And since my favourite song yesterday was "This is war" - isn´t this so much sweeter? I haven´t seen the Narnia movies yet, I´m not sure if I ever will. But I´ve read all the books, and I´ve read them to my daughters, too. Fine books, they are :-)

No comments:
Post a Comment